
COLUMNS · HOW-TO GUIDE
How to Repair a Damaged Steel Column in 11 Steps
To repair a corroded or damaged steel column without welding, measure how much steel is left, anchor new bars and bolt on shear clamps, wrap the column in an FRP laminate jacket and fill it with grout. In lab tests, concrete-filled glass FRP jackets restored buckled steel columns to 69% to 104% of their undamaged capacity. Jump to the 11 steps.
Key takeaways
- Measure first: an ultrasonic gauge finds hidden wall loss, often inside tubes near the base.
- No welding: resin-anchored bars, bolted shear clamps, an FRP laminate jacket and grout.
- Proven in tests: buckled steel columns regained 69% to 104% of their undamaged capacity.
- Above 50% loss: the engineer designs load transfer with ShearClamp™ or ShearWrap™ units.
- Quality matters: voids, poor sanding and loose clamps all cost capacity.
How do you repair a damaged steel column?
You repair a damaged steel column by restoring the capacity it lost, not just by cleaning off the rust. Traditional repairs weld or bolt steel plates over the damaged length, or cast a large reinforced concrete jacket around it. This guide covers a no-weld option: a concrete-filled FRP jacket built around the damaged zone.
The jacket works in three ways. The grout core, with new bars, stabilizes the steel. Bolt-on shear clamps lock the core onto the column so they share load. The FRP shell confines the core and seals the steel from the moisture and oxygen that caused the corrosion. For a side-by-side look at every option, see steel column repair methods compared.
Before you start: how much steel is left?
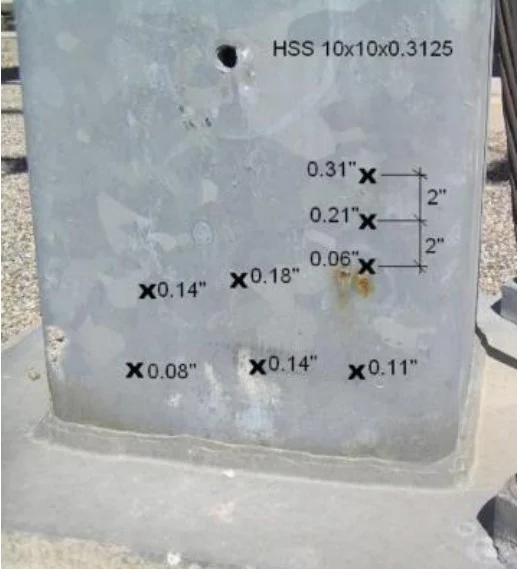
Start by measuring the remaining thickness, because visible rust often understates the damage. Corrosion tends to start on hidden faces: inside a tube column, or under a base plate where water collects. On one utility project, ultrasonic readings showed most of the wall loss in square steel columns was on the inside, near the base, with little or nothing visible from outside.
- Measure wall or flange thickness with an ultrasonic thickness gauge along the height of the column.
- Map where the loss is worst. It is often near the base, where bending stress is also highest.
- Check for bending, buckling, dents or cracks that point to overload or impact.
- Flag any section loss above 50%. That needs a specific design for load transfer between the steel and the new shell.
The repair design comes from the engineer of record: the length of the repair zone, the number and size of new bars, the shear clamps and the grout. Our team will recommend the right QuakeWrap® system and provide specifications for your engineer. The steps below follow the demonstration repair in QuakeWrap’s installation video, so its values are examples, not a design.
Measured the loss? Send it to us.
Share the section, the readings and photos. Our team will recommend the right QuakeWrap® system and provide specifications for your engineer.
Is an FRP jacket the right repair for your column?
An FRP jacket fits best when the damage is concentrated in one zone and welding is difficult or not allowed. It is a good match for:
- Localized corrosion, such as a corroded base, where only that length needs repair.
- Buckled members, which regained most or all of their capacity in lab tests.
- No hot work: bars are resin-anchored and clamps are bolted.
- Wet or corrosive exposure: the jacket keeps moisture and oxygen off the steel inside it.
- Columns in service: light materials and hand tools. Utility columns have been repaired while energized.
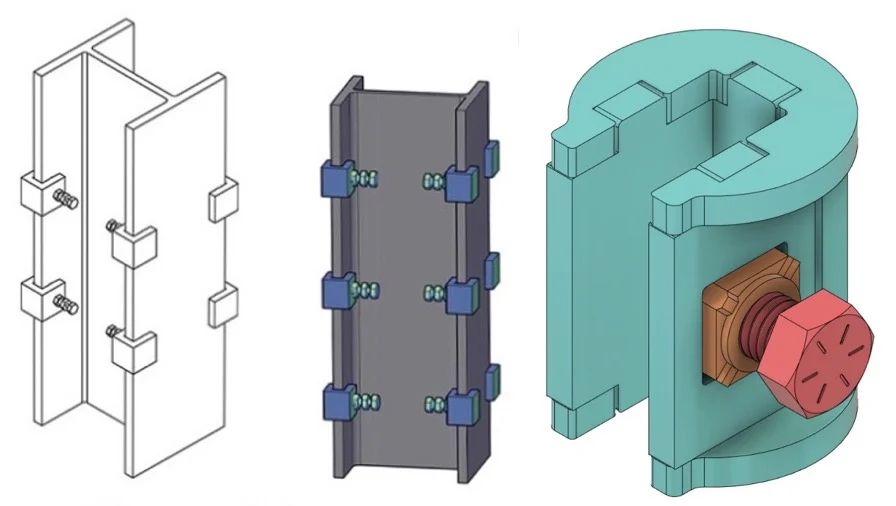
- Round, box or H-shapes: ShearWrap™ for round sections, ShearClamp™ for H-piles and wide-flange columns.
If the column is damaged along its whole length, or the loss is so severe it cannot carry load during the work, your engineer may compare the jacket with replacement. Our steel column repair cost guide covers how each option is priced.
What do you need for the repair?
Here is what the demonstration repair used. Your engineer’s design sets the values for your column.
| Item | Used in the demonstration |
|---|---|
| Longitudinal bars | Four No. 7 bars set in drilled holes with anchoring resin |
| Shear clamps | Torqued to 80 ft-lb |
| Spacers | Four, one at each corner |
| Jacket | PileMedic® laminate cut from a 48 in. roll to 38 in. |
| Epoxy paste | Two-part, 100 parts A to 43 parts B by weight |
| Cure before grouting | About 12 hours |
| First grout lift | 1 to 2 in. |
| Finish | Seam sealant, then paint or top coat |
Values from the PileMedic® installation video. Check the current product data sheets for the laminate and epoxy.
The 11 steps to repair a damaged steel column
- Prepare the surfaceClean the repair area so the materials bond and sit on a sound, suitable surface.
- Install the barsPlace the bars the design calls for (four No. 7 bars in the video): drill holes, inject anchoring resin and insert the bars.
- Install the shear clampsFit the shear clamps so the new grout core locks onto the steel, and torque them to the specified value (80 ft-lb in the video).
- Attach the spacersFix spacers, one at each corner in the video, to hold a true jacket radius. Type, size and number vary with the column.
- Cut the jacketMark and cut the laminate to the design size, for example from the standard 48 in. width down to 38 in.
- Apply the epoxyMix the two-part epoxy paste at the specified ratio, with no color streaks, and spread it over at least half the jacket length.
- Wrap the jacketPut the uncoated end on the inside and the coated side out, then wrap the jacket tightly around the column.
- Secure with zip tiesOnce the radius is set, cinch the jacket with at least three sets of zip ties per jacket height to spread the load evenly.
- Adjust and cureHold the seam flat with straightedges, add screws along the seam if needed, and let the jacket cure for about 12 hours.
- Fill with groutSeal the bottom of the jacket, place a 1 to 2 in. first lift, then fill slowly, tapping the jacket to settle the grout and checking for leaks.
- FinishOnce the grout cures, remove the ties, seal the seams and exposed edges, and paint or top-coat the jacket.
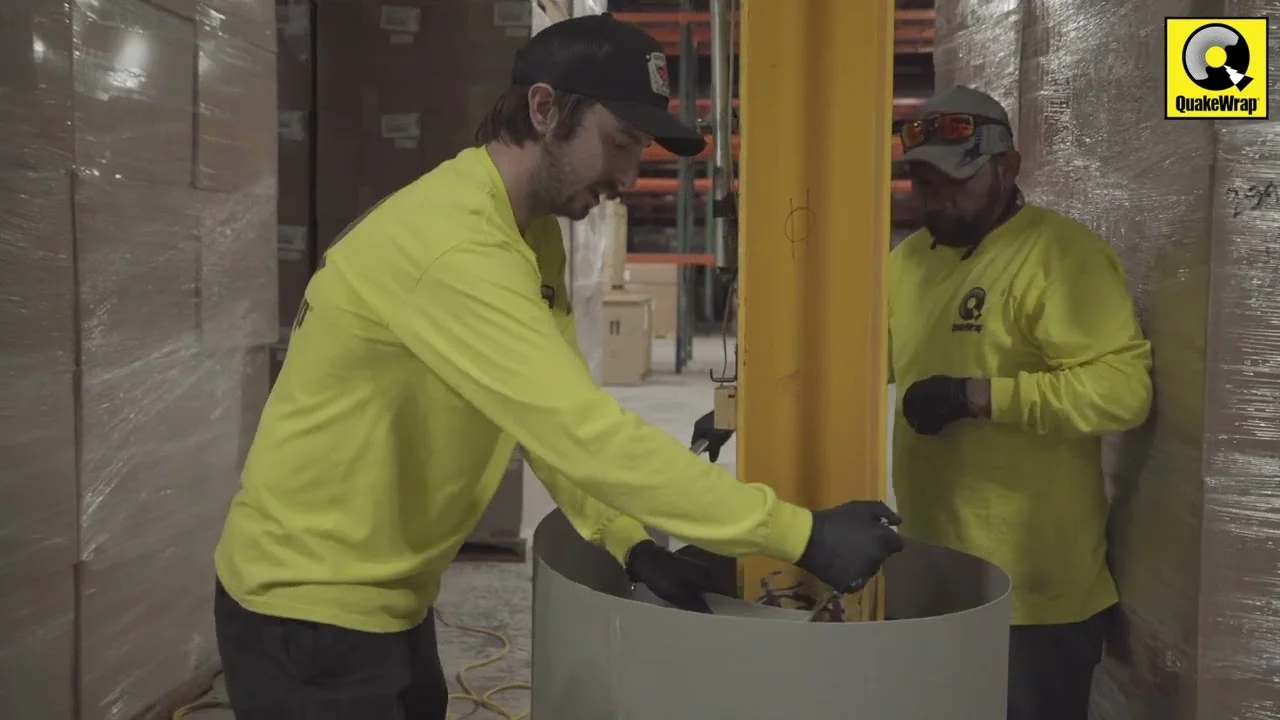
Plays from YouTube
How long does a steel column repair take?
Most of the time is curing, not handling. In the demonstration the jacket cured for about 12 hours before grouting, and the grout then needs its own cure before the ties come off and the jacket is sealed and painted.
Total time depends on the number of columns, access and the grout. Because the work uses light materials and hand tools, crews can often move from column to column while earlier jackets cure. On one utility job, nearly sixty corroded steel columns were repaired with FRP jackets while the substation stayed energized. Read the substation structure repair case.
Installation mistakes that cost capacity
The University of Houston tests found the repair is sensitive to installation quality. Four mistakes do most of the damage:
- Voids in the fill. Incomplete filling left air voids that cut the capacity gain. Fill in lifts and tap the jacket to settle the grout.
- Poor laminate bond. Incomplete sanding of the laminate weakened the bond between plies and caused early debonding.
- A leaking bottom seal. An unsealed base lets grout escape. Seal the bottom and keep the first lift to 1 to 2 in.
- Loose clamps. Shear clamps transfer load only at the specified torque. Torque every bolt to the design value.
Does an FRP jacket restore a steel column's strength?
Yes, when it is installed correctly. Researchers at the University of Houston repaired 13 buckled short steel columns with varying section loss, using jackets of pre-cured bidirectional glass FRP laminate filled with expansive concrete (Kaya, Dawood and Gencturk, 2015). The jackets restored the columns to 69% to 104% of an undamaged control column, and nine of the 13 reached at least 90%.
- Most corroded columns: repaired capacity was 3.8 to 5.4 times the capacity before repair.
- Safer failure: repaired columns kept gaining load after yielding, instead of the sudden loss of load typical of buckling steel.
- More layers help: going from two to three laminate layers added 9% to 26% capacity.
- Bars help, size matters less: internal bars added about 12%, and 12.7 mm bars performed about the same as 9.5 mm bars.
Field results agree. A Texas DOT study restored capacity in 13 of 14 corroded steel H-piles repaired with FRP jackets. For more proof, see our test results and approvals.
Steel column repair FAQs
How do you repair a damaged steel column?
Have an engineer assess the section loss and design the repair. Traditional fixes weld or bolt on steel plates or cast a concrete jacket. A no-weld option anchors new bars and shear clamps, wraps the column in an FRP laminate jacket and fills it with grout, which restores capacity and seals the steel.
How do you fix corroded structural steel?
Removing rust and recoating stops surface corrosion but does not replace lost steel. Once the flange or wall is thinner, the member needs added capacity, such as welded plates or a concrete-filled FRP jacket, sized by the engineer of record.
How do you fix a crack in a pillar?
In a concrete pillar, small non-structural cracks are usually cleaned and sealed or injected with epoxy. A crack in a steel column, or any crack with bending, buckling or section loss, is structural, so have an engineer assess it before choosing a repair.
Can a steel column be repaired without welding?
Yes. In an FRP jacket repair the bars are set in drilled holes with anchoring resin and the shear clamps are bolted and torqued, so no hot work is needed.
How long does the repair take?
In the demonstration, the jacket cured for about 12 hours before grouting. Total time depends on the number of columns, access and the grout’s cure.
What if the column has lost more than half its section?
Section loss above 50% needs a specific design for load transfer between the steel and the new shell, using ShearClamp™ units on H-shapes or ShearWrap™ on round sections.
Can the column stay in service during the repair?
Often, yes. Nearly sixty corroded steel substation columns were repaired with FRP laminate jackets while the substation stayed energized. Your engineer decides whether temporary shoring is needed.
Sources
- M. Kaya, M. Dawood and B. Gencturk, Repair of Corroded and Buckled Short Steel Columns Using Concrete-Filled GFRP Jackets, Construction and Building Materials 94, 2015, pp. 20 to 27.
- M. Dawood et al., Repair Systems for Deteriorated Bridge Piles, FHWA/TX-17/0-6731-1, Texas Department of Transportation, April 2017.
- M. Ehsani and G. McGhee, Repair of Corrosion-Damaged Substation Structures, ASCE Electrical Transmission and Substation Structures Conference, 2015.
- QuakeWrap, Inc., PileMedic Installation Guide: Repair Damaged Steel Column (video) and How to Repair a Damaged Steel Column, March 2024.
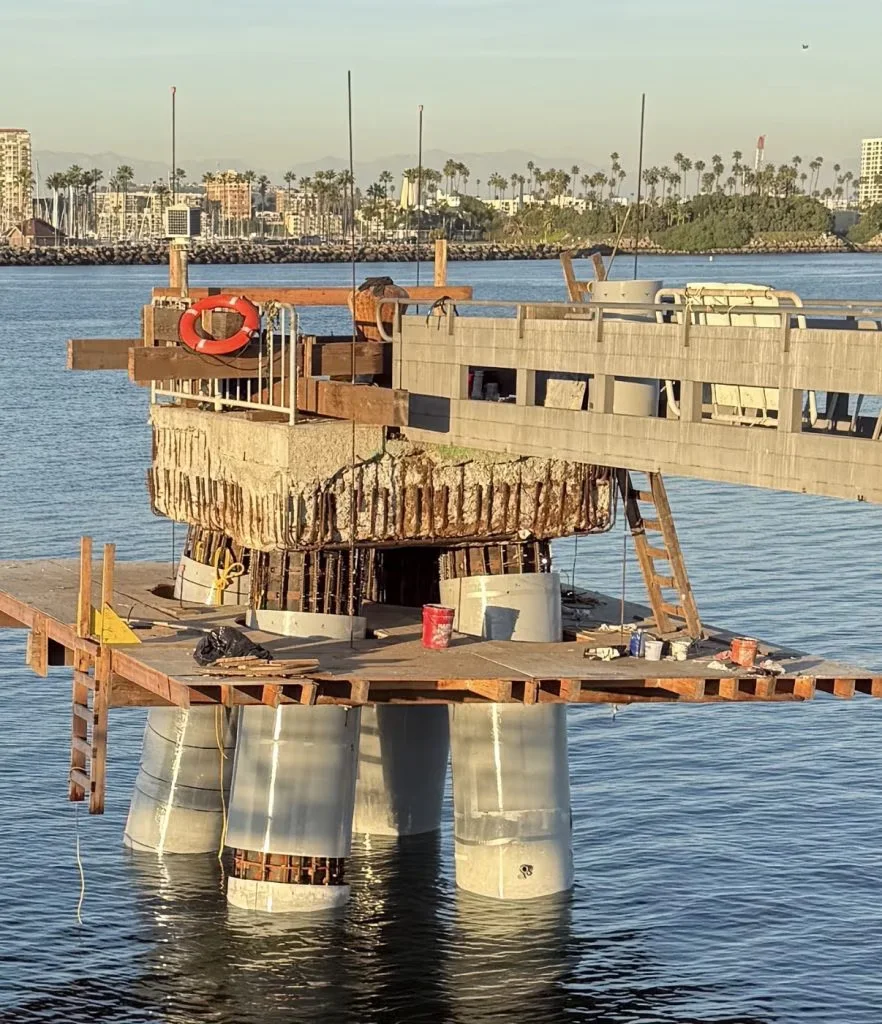
Have a Damaged Steel Column?
Send us the column size, the measured section loss and photos. Our team will recommend the right QuakeWrap® system and provide specifications for your engineer.