
CASE STUDY: FIELD TRAINING
PileMedic® Installation Training in Prudhoe Bay, Alaska
Two days of on-site PileMedic® installation training for the ICE Services crew repairing deteriorated timber piles at a Hilcorp property in Prudhoe Bay, Alaska: classroom, hands-on practice, a cold-weather cure test and a full demonstration repair.

Project Details
- OWNER
- Hilcorp
- LOCATION
- Hilcorp property, Prudhoe Bay, Alaska
- TRAINING DATES
- August 27 to 28, 2026
- STRUCTURE
- Deteriorated timber piles in permafrost
- QUAKEWRAP® SYSTEM
- PileMedic® laminate, QuakeBond™ 220TC adhesive, QuakeBond™ 320LV fill
- ENGINEERING AND MATERIAL PURCHASER
- Larson Engineering
- INSTALLATION LABOR
- ICE Services
- TRAINING PROVIDER
- QuakeWrap, Inc. (instructor Josh Ahumada)
01 · THE CHALLENGE
Timber Pile Repair on Permafrost, in the Cold
Larson Engineering had surveyed the Hilcorp property and was tasked with finding a repair for its deteriorated piles. QuakeWrap® was selected to provide the PileMedic® repair system and materials. Hilcorp provided the installation labor through its onsite contractor, ICE Services.
The site added two conditions the crew had to plan for. Digging around a pile into the permafrost can leave water standing around it, right where the jacket's bottom seal goes. And with air temperatures of about 34°F to 41°F, the epoxy that fills the jacket needs active temperature management to cure.
QuakeWrap® instructor Josh Ahumada spent August 27 and 28, 2026 on site, giving ICE Services personnel the hands-on instruction they needed in handling, preparation, installation, filling, quality control and cold-weather procedures for the PileMedic® system.

02 · THE TRAINING
What the PileMedic® Installation Training Covered
The training opened in the classroom with a PowerPoint overview and a review of the PileMedic® specification, then moved to the piles. Three ICE Services team members took part, with Larson Engineering also attending.
Pile preparation covered removing deteriorated or unsound timber, cleaning the pile and judging the condition of the wood underneath. Jacket preparation covered measuring the repair area, laying out and cutting the laminate, a dry fit, preparing the overlaps, and positioning and securing the jacket around the pile.
Several ways to make the bottom seal and contain the fill were discussed and demonstrated. The preferred method is to remove standing water from the excavation before completing the seal, with alternate seals for when the water can't be fully removed. The crew also mixed and handled QuakeBond™ 320LV and 220TC, with emphasis on storage, logging batch, temperature and mixing time, and how air temperature changes viscosity and cure.
- Classroom overview and specification review
- Timber pile surface preparation
- Laminate measuring, cutting and dry run
- Bottom seal and fill containment
- Hands-on epoxy mixing
- QA/QC records and troubleshooting

IN THE FIELD
Hands-On Pile Repair Installer Training
ICE Services crew members observed and took part in each step under instructor supervision.
-
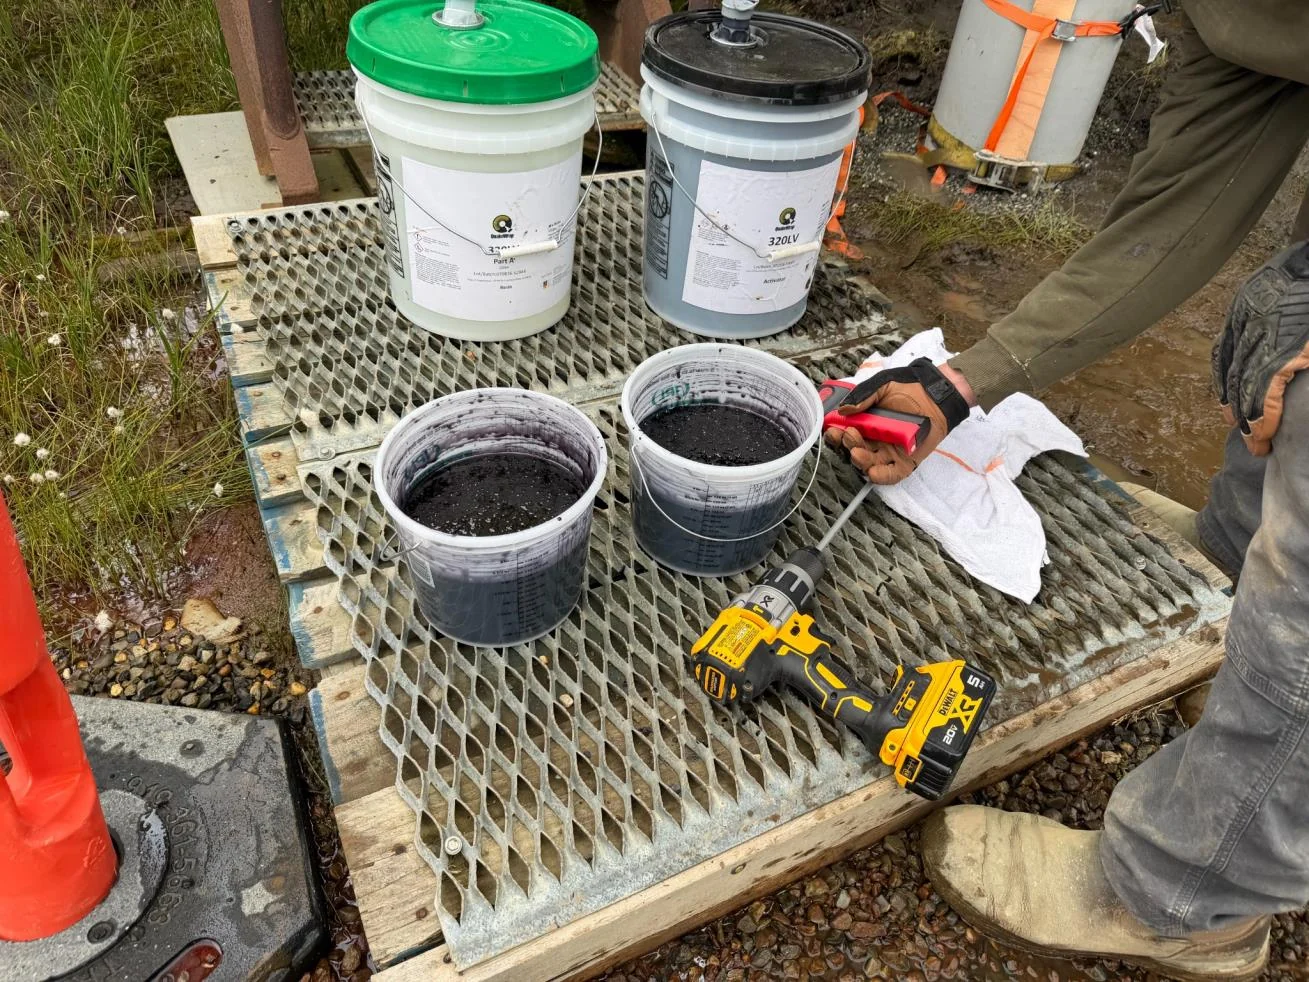
Mixing QuakeBond™ 320LV
Field mixing of the fill epoxy, recording batch, temperature and mixing time.
-
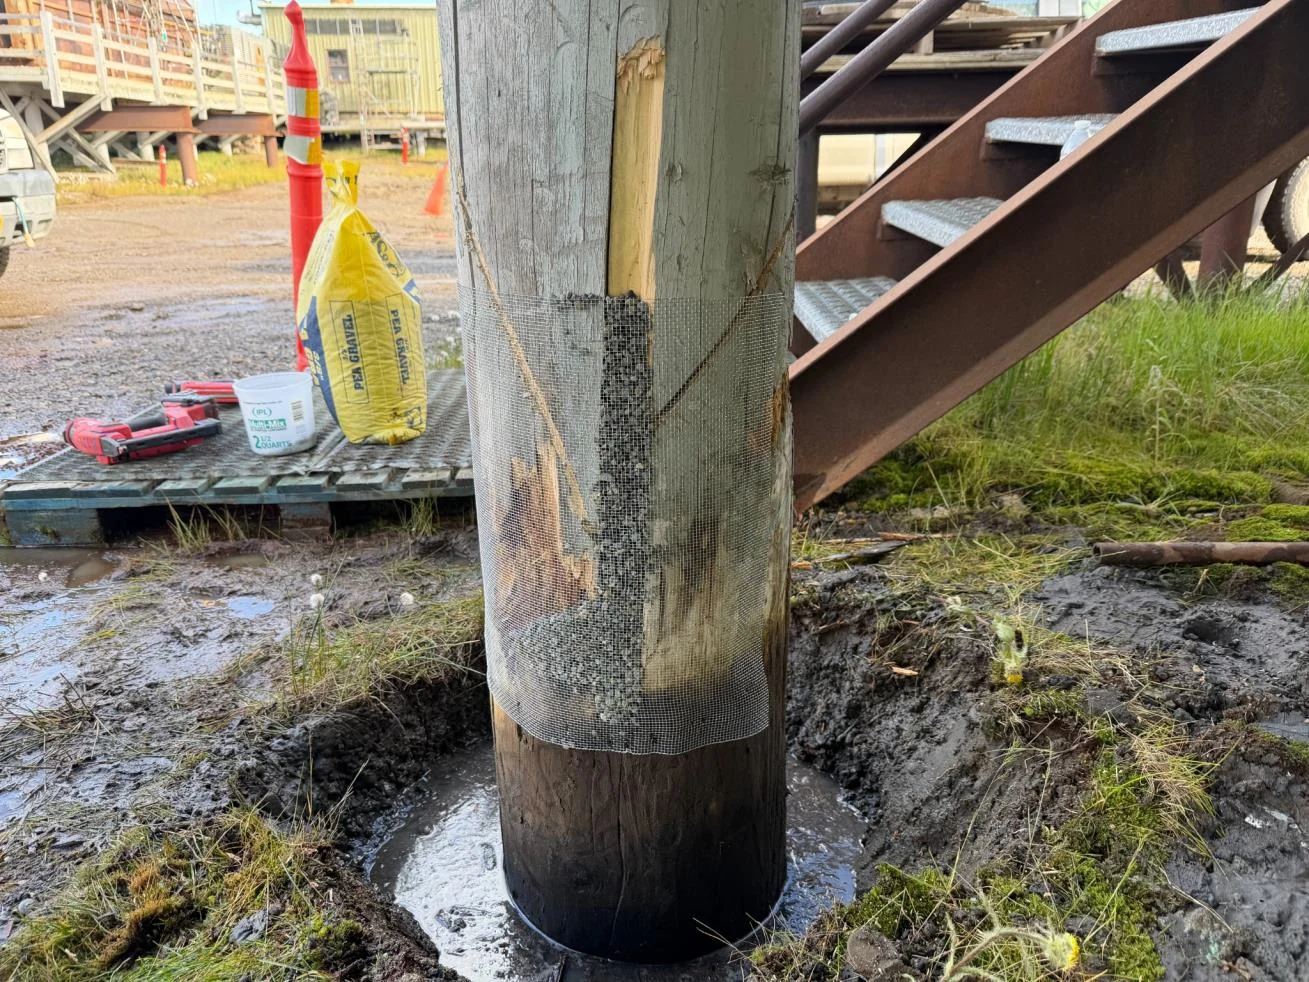
Pea Gravel Fill Demonstration
A prepared pile with pea gravel placed as part of the fill demonstration.
-
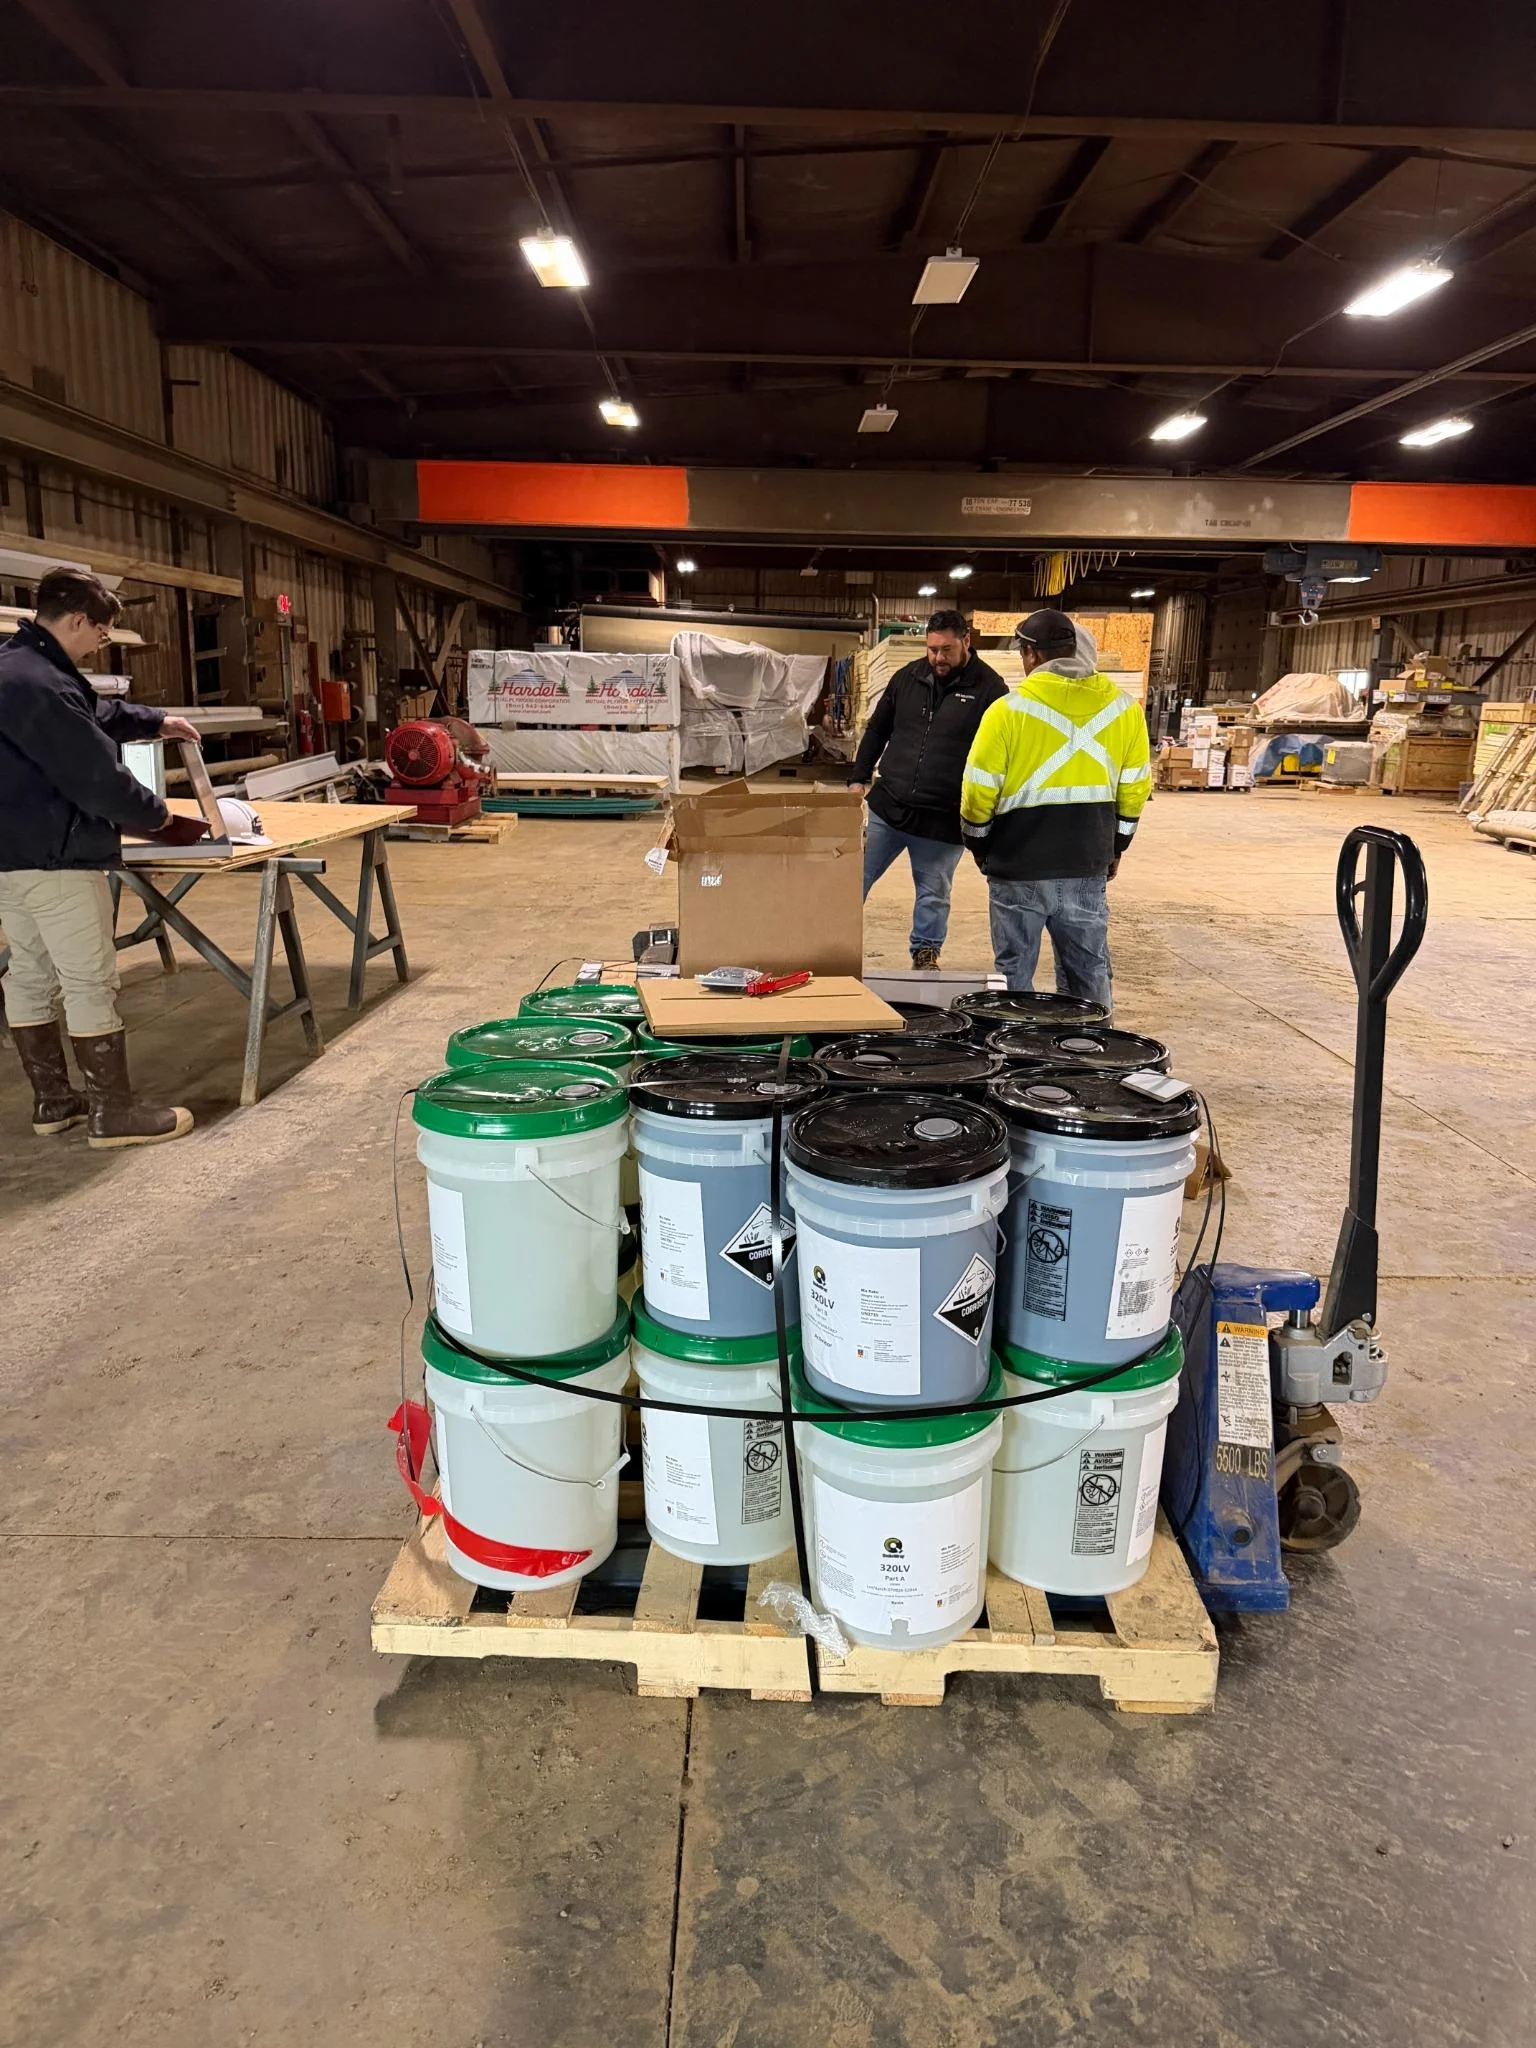
Temperature-Controlled Storage
QuakeBond™ 320LV kept in the warehouse until needed, out of the cold.


03 · COLD WEATHER
A Field Drop Test Showed How Cold Slows the Cure
Cold-weather performance was the main site-specific topic. Air temperatures on both training days ranged from about 34°F to 41°F, with wind chill in the 20s. Resin behavior and cure are critical to a successful installation, and Prudhoe Bay conditions called for active temperature management.
To show the effect, the training included a field evaluation called a drop test with four containers of QuakeBond™ 320LV. Two held about 2 in. of pea gravel with resin filled to the top of the aggregate. Two held about 3/4 in. of neat resin so the exotherm and cure could be watched. One of each stayed in the warehouse at about 59°F and the matching pair went outdoors, with a laser temperature gun tracking the samples.
Cold and aggregate mass both stretched the cure time. Based on what they saw, ICE Services personnel were instructed that supplemental heat would be required for proper cure during installation, and that materials stay in temperature-controlled storage, such as the warehouse, a running heated vehicle or a heated work enclosure, until needed.

DROP TEST RESULTS
Observed Cure Times for QuakeBond™ 320LV on Site
Field observations at Prudhoe Bay in August 2026, recorded in QuakeWrap's training report. They are not product data sheet values.
| Condition | Sample | Observed cure / set |
|---|---|---|
| Indoor (~59°F) | Neat 320LV | ~30 minutes |
| Indoor (~59°F) | 320LV + pea gravel | ~1.5 hours |
| Outdoor cold exposure | Neat 320LV | ~1.5 hours |
| Outdoor cold exposure | 320LV + pea gravel | ~24 hours |
Need the published resin data?
Working time, gel time and properties for QuakeBond™ 320LV and the other PileMedic® epoxies and grouts are on the accessories page.
FOR ENGINEERS AND OWNERS
Site Recommendations From the Training
The training report closed with these site-specific observations for installing PileMedic® at Prudhoe Bay.
-
Plan for heat
With air temperatures of about 34°F to 41°F and wind chill in the 20s, supplemental heat is required to support proper cure of the resin system.
-
Keep epoxy warm until use
Store epoxy materials in temperature-controlled storage, such as a heated warehouse, a heated or running vehicle, or a heated work enclosure.
-
Remove standing water
Excavation around piles in permafrost can leave standing water. Where practical, pump or otherwise remove it before making the bottom seal.
-
Have a backup seal
Where water can't be fully removed, the alternate sealing methods covered in training may be used to contain the fill before the annular space is filled.
-
Log every batch
Record epoxy mixing time, temperature and batch or lot numbers. The training put particular weight on this because of the cold.
-
Follow the project documents
Install to the project-specific design documents, product requirements and the QA/QC procedures reviewed in training.
04 · THE RESULT
A Full Demonstration Repair and a QC Checklist
The crew completed a field demonstration on one timber pile under instructor supervision. The pile was prepared, wrapped with the PileMedic® laminate, sealed and filled with QuakeBond™ 320LV. Site permitting limits allowed only one demonstration pile during the visit.
QuakeWrap® also provided the PileMedic® Quality Control Checklist and reviewed it with the installation team. It gives a consistent field record of surface preparation, epoxy storage and logging, installation and overlap, additional jackets, vertical and horizontal seams, the bottom seal, filling the annular space, and circumference and jacket height checks, with an epoxy log and sign-offs by the installer and a reviewer.
The training documents the instruction given on this visit. It does not replace the project's engineering documents, drawings, specifications or safety requirements, and it does not certify individual installers. Responsibility for the work, site safety and means and methods stays with the project and installation parties.
- demonstration pile
- 1
- crew members trained
- 3
- QC checklist topics
- 8
- on site
- 2 days

Products & Applications Used
-
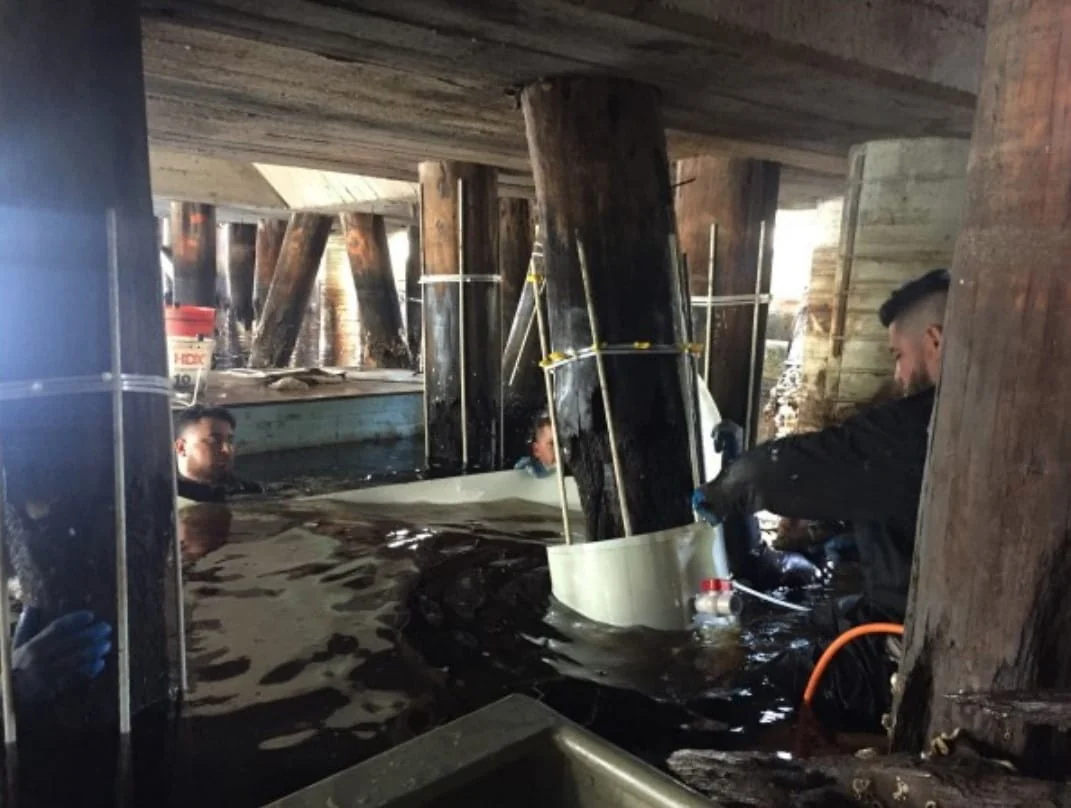
PileMedic® Pile Jackets
FRP laminate cut from a roll, wrapped twice around the pile and bonded to itself.
Explore Pile Jackets -
QuakeBond™ Epoxies and Fills
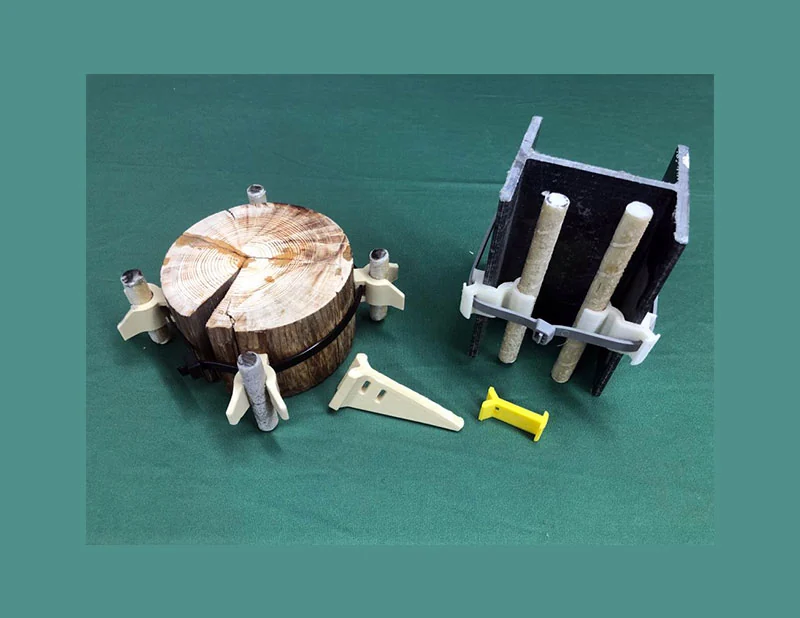
Spacers, QuakeBond™ epoxies and grouts that fill the jacket.
Explore Accessories -
PileMedic® Bottom Seal
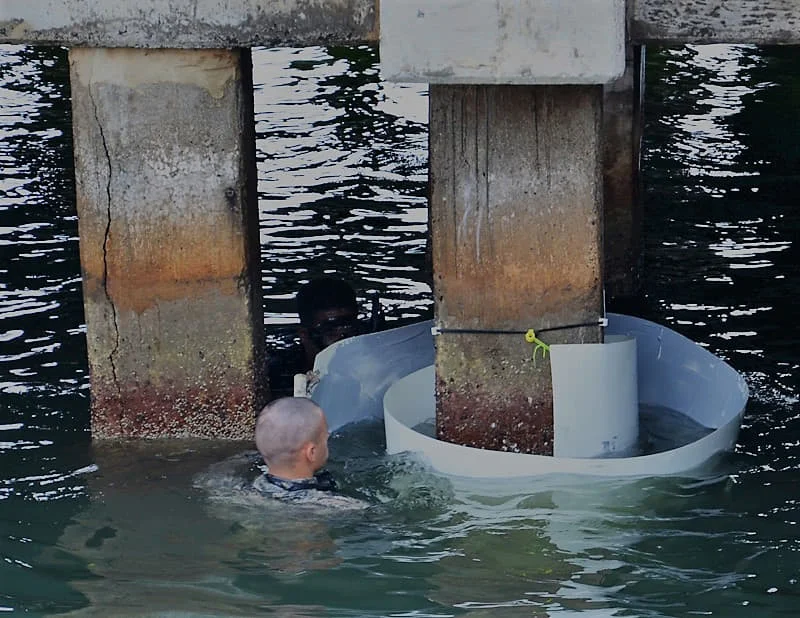
How the bottom of the annular space is sealed so the fill stays in the jacket.
Explore Bottom Seal


MORE PROJECTS
Related Projects
-
McKinley Tower, Anchorage
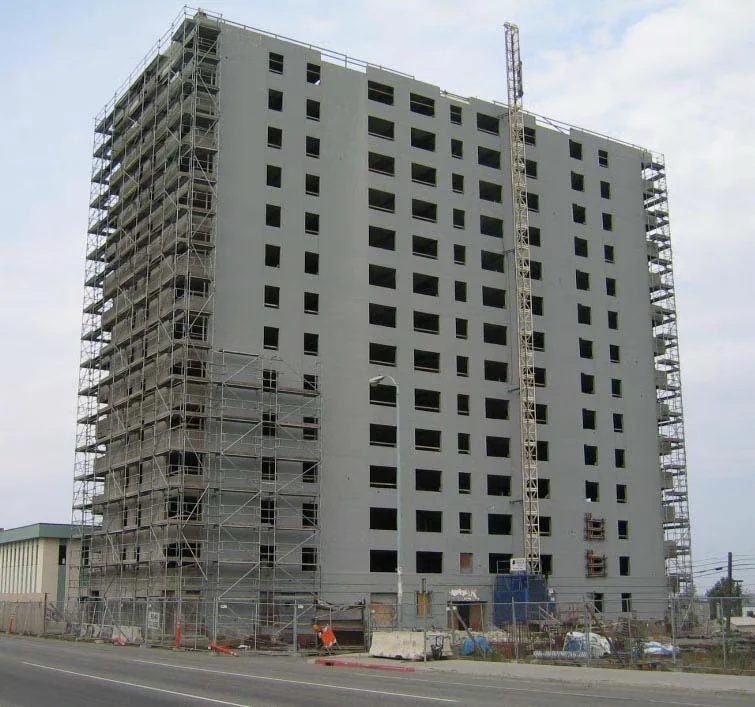
A 14-story concrete tower strengthened with carbon and glass FRP after 1964 earthquake damage.
View case study -
Port of Seattle Terminal 18
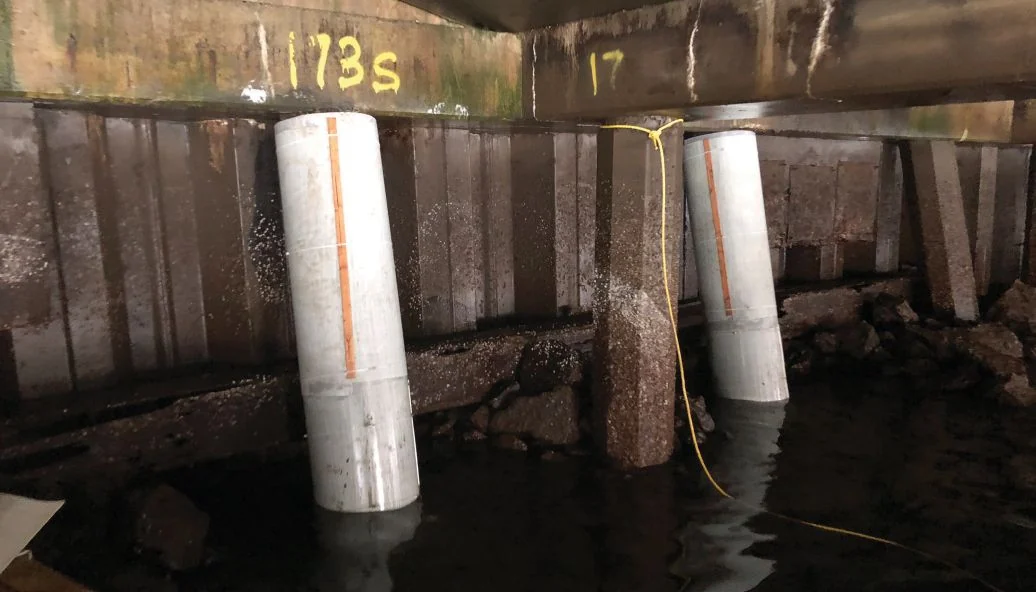
Prestressed concrete piles wrapped in PileMedic® jackets with no shutdown of port service.
View case study -
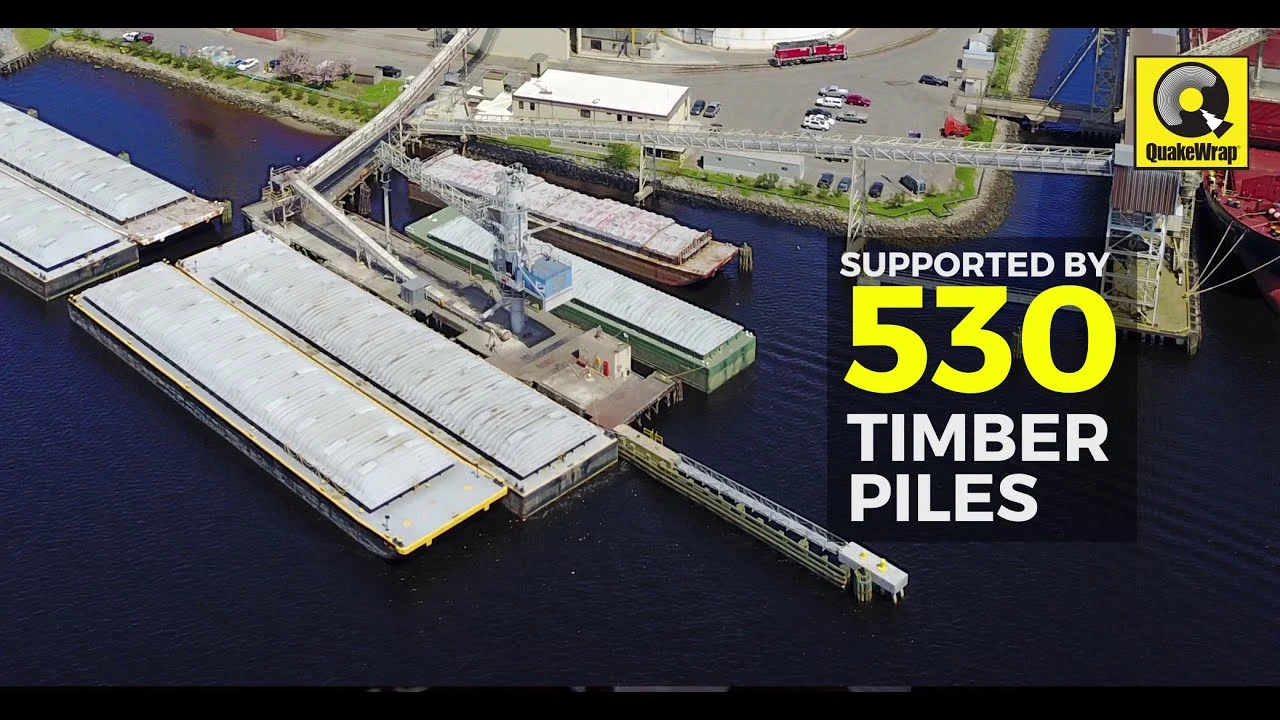
Agricultural Port, Chesapeake, Virginia
500+ timber piles restored with PileMedic® while the dock stayed open.
View case study


Installation Resources
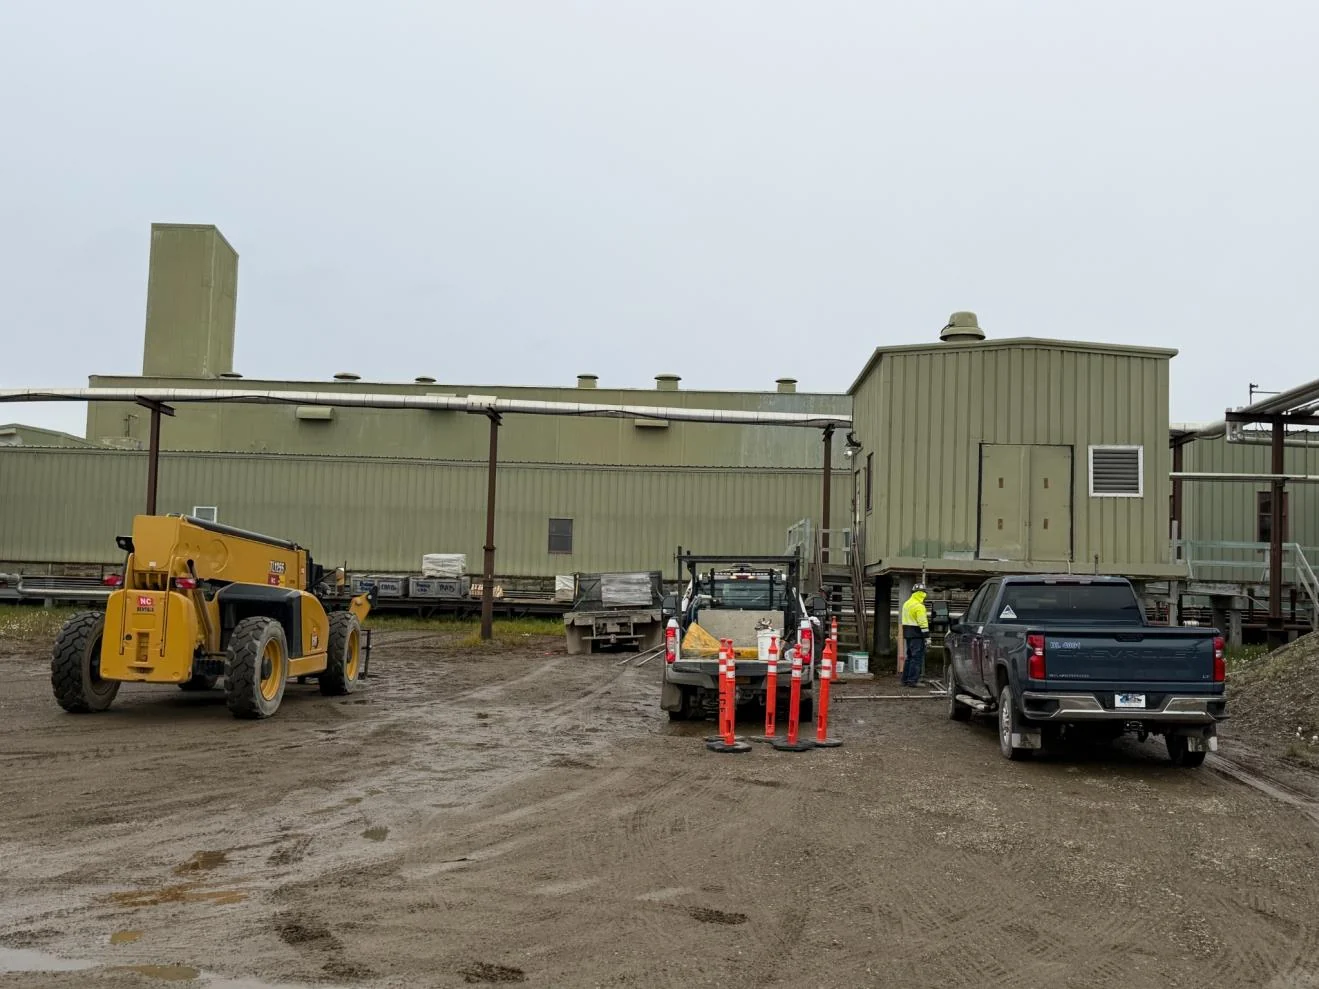
Planning a Pile Repair Your Crew Hasn't Done Before?
Tell us about the piles, the site and the conditions. Our team will recommend the right PileMedic® system, provide specifications for your engineer and talk through training for your installers.